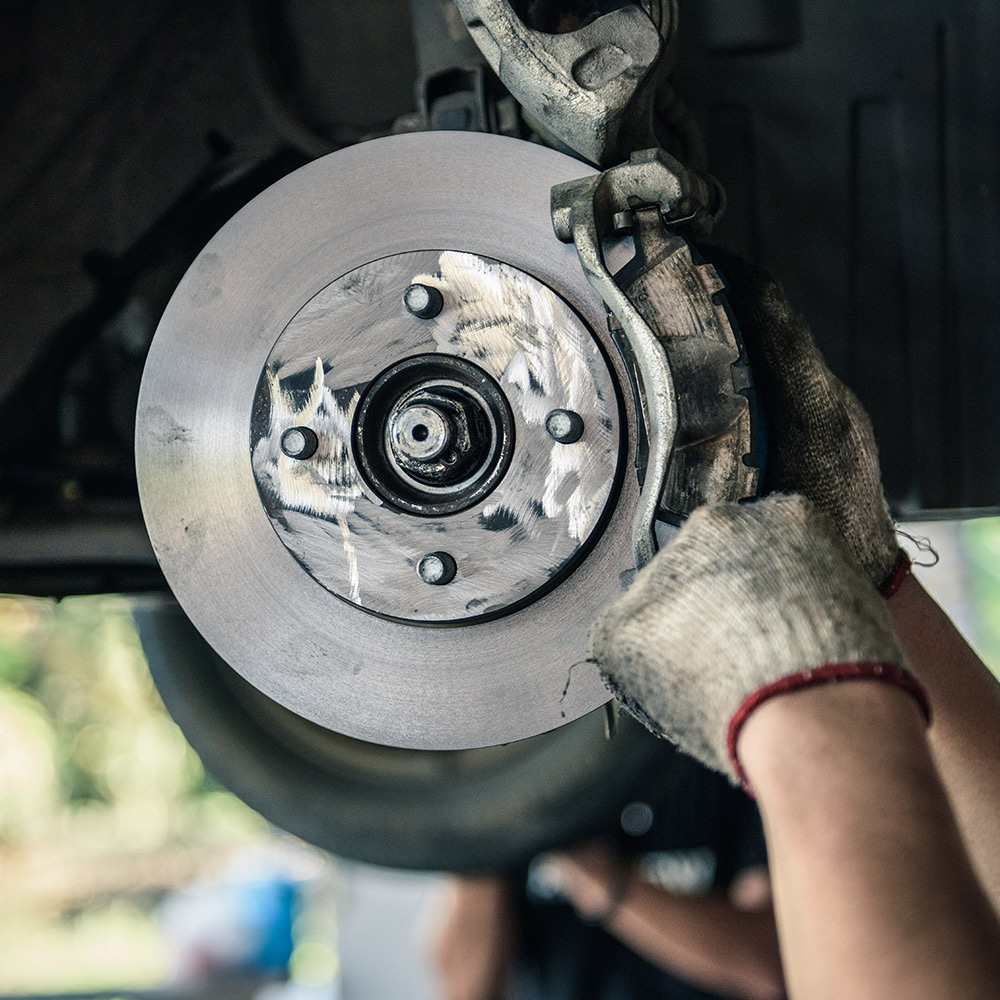
Are you tired of those squeaky, worn-out brake pads ruining your smooth ride? It’s time to take matters into your own hands and learn how to change your brake pads. In this article, we will guide you through the step-by-step process of replacing your brake pads, so you can hit the road with confidence and peace of mind.

Preparation and Safety Measures
To ensure a successful brake pad replacement, it is crucial to be well-prepared and follow safety measures. Before starting the task, gather all the necessary tools and materials such as a lug wrench, jack, jack stands, new brake pads, and brake cleaner. Make sure to wear protective gear such as gloves and safety glasses to prevent any accidents.
Preparation Steps:
- Park your vehicle on a flat surface and engage the parking brake.
- Loosen the lug nuts on the wheel where you will be replacing the brake pads.
- Lift the vehicle with the jack and secure it on jack stands for added stability.
- Remove the wheel to access the brake caliper and rotor.
Safety Measures:
- Always work in a well-ventilated area to avoid inhaling brake dust and fumes.
- Avoid working under a vehicle supported only by a jack; use jack stands for additional safety.
- Double-check all connections and tightness before test-driving the vehicle.
- Dispose of old brake pads properly and clean up any spilled brake fluid immediately.
| Tool/Material | Use |
|---|---|
| Lug Wrench | To loosen and tighten lug nuts |
| Brake Cleaner | To remove debris and old brake pad residue |
| New Brake Pads | To replace worn-out brake pads |
Choosing the Right Brake Pads
When it comes to changing your brake pads, it is crucial to choose the right ones for your vehicle. The type of brake pads you select can greatly affect your stopping power and overall driving experience. Here are a few key factors to consider when selecting brake pads:
- Material: Brake pads can be made from various materials, including ceramic, semi-metallic, and organic compounds. Each material has its own benefits and drawbacks, so it is essential to choose one that best fits your driving style and needs.
- Performance: Consider the level of performance you desire from your brake pads. High-performance brake pads offer better stopping power but may produce more noise and dust. Choose a set that balances performance with noise and dust levels.
- Compatibility: Ensure that the brake pads you choose are compatible with your vehicle’s make and model. Consult your vehicle manual or a professional mechanic to find the right fit for your car.
It is recommended to do thorough research and read customer reviews before purchasing brake pads for your vehicle. By selecting the right brake pads, you can ensure a safe and efficient driving experience. Remember to follow the manufacturer’s instructions when installing new brake pads to ensure proper function and performance.
Tools Required for Brake Pad Change
Before you begin changing your brake pads, you will need to gather a few essential tools to ensure a smooth process. Here are the tools you will need:
- Jack and Jack Stands: These will help you safely lift your vehicle off the ground.
- Lug Wrench: You will need this to remove the wheels.
- Socket Set: This will be used to remove the caliper bolts.
- C-Clamp: You will need this tool to compress the caliper piston.
- Brake Cleaner: This will help clean the brake components during the process.
Having these tools on hand will make the brake pad change process much easier and more efficient. Make sure you have everything you need before you begin to avoid any delays or issues.
Step-by-Step Guide to Replacing Brake Pads
Are your brakes squeaking or grinding? It might be time to replace your brake pads! Don’t worry, we’ve got you covered with this step-by-step guide to changing your brake pads.
First things first, make sure you have all the necessary tools and materials ready. You’ll need a jack, lug wrench, C-clamp, new brake pads, brake grease, and a lug nut socket. Safety first, always work on a flat surface and engage the parking brake before starting.
Loosen the lug nuts on the wheel with the flat tire
Jack up the car and place it securely on jack stands
Remove the lug nuts and take off the wheel
Locate the brake caliper and remove the bolts holding it in place
Slide out the old brake pads and replace them with the new ones
Reassemble the caliper, wheel, and lug nuts
Pump the brakes a few times to ensure proper alignment
Voila! You’ve successfully changed your brake pads and ensured your safety on the road. Remember to test your brakes before hitting the road to ensure everything is functioning properly.
In conclusion, changing your brake pads is a simple task that can save you time and money in the long run. By following the steps outlined in this article, you can ensure your safety on the road and keep your vehicle running smoothly. Remember to always exercise caution when working on your car and consult a professional if you encounter any difficulties. Happy DIY-ing!
